Wednesday, April 9, 2014

Conception Day! (aka Ready or Not)

I'm pretty sure it's not a thing I should celebrate publicly, but today is Conception Day!  
Yup, one year ago today, my daughter sprung into existence.  I wouldn't know about her for another three weeks, and I'm pretty sure that three weeks from now I won't be celebrating "Pregnancy Tests & Tears Day," so I'm using today to look back at the last year, and as an excuse to introduce another aspect to my blog: parenting and motherhood.  

One year ago today, I stood on a rooftop at sunset, enjoying the view with the man I loved and thought to myself, this is a perfect moment, and I am so immensely happy.  

Couple selfie to capture the magic!

I like to think that this was the exact moment of conception.  Our kid decided that she really wanted to join our family, that she just couldn't wait anymore.  To be super cheesy about it, I think our happiness was a beacon that drew her into existence.  Because we definitely didn't ask for her...  

This wasn't an adventure I had planned on taking just yet.  We were only three years into a five year plan when that second line appeared.  So yeah, there were tears.  And panic.  And curse words. There would have been a crap-load of tequila, but, you know...
 
Here’s something I peed on!

I liked kids, and I was pretty sure I'd maybe want my own someday, but that was for future Wes to deal with.  But suddenly, the future had said to hell with my schedule and decided that NOW was the time.   And as 15 years of reproductive clockwork and control came crashing down around my feet, I tried really hard not to feel like a teenager who had gotten in trouble. I was an adult.  I was in a steady relationship with the man I would spend forever with.  I had a great job, with health insurance.  I was not "financially ready" for a child, but it’s laughable to think I ever would have been.  The timing seemed as good as any when it came down to it.  And as I talked myself away from the edge, things began to look better and better.


I don't think there ever would have come a time when I would have declared myself "ready" for a kid.  So the kid decided that she was ready for us, and barged her way into our lives.   I had been softening towards kids for a few years, but for many years I had been very vocal about NEVER having kids.  I spent most of my twenties with “getting pregnant” at the top of my list of fears.  I was redonkulously careful and safe.  I was the kind of person who, even if I hadn't had sex in a year, would have a minor panic attack about pregnancy if my cycle was a day or so late.  My mom did her job too well scaring us into safety with all those sex ed lectures.  

Over the years and as I approached 30, my “NEVER” became a “maybe.”  I saw friends have kids first and thought “I could do that, maybe.”  Then I met a man and knew right away that I’d spend the rest of my life with him, and maybe have his kids someday.  And without even realizing it, I relaxed my rules about being super careful.  Then, BOOM.  I didn't know it then, but finding myself accidentally knocked up was the best way it could have happened.  I never had to make the choice I didn't know if I really wanted to pull the trigger on, and I didn't have to hear the ticking of my biological clock counting down to doomsday.     

I've always believed that everything happens for a reason, and that everything always works out for the best.  I held firm to that in those first days, trusting the universe to take care of me.  That theory made me take the pregnancy test out of the trash and take a photo of it, knowing that someday I'd be happy about those results and want to celebrate them. And I was right.  I couldn't imagine not having my daughter now.   She makes us complete.  
 She just belongs here.   She's the living embodiment of our happiness. 


Happy Conception Day, little dude.  Thanks for joining us.  You are proof that the Universe knows best,  and everything is as it was meant to be. 

Ready or not, here I come.  


Monday, March 31, 2014

My best craft yet

I know, I've been absent for a while, but I promise, I have a perfectly good reason.

See?  I've been busy!

That's right folks.  Last year I embarked on my greatest project yet, and it left me with very little energy for anything else.  I slept through most of my pregnancy, and did very few projects, focusing mostly on my wedding and baby shower.  I'll have to post about those retroactively someday soon.


My little bundle of giggles is now 3 months old, and I've found myself getting back in the crafting game, slowly but surely.  I've completed a few small projects, eased myself back into things, building up to bigger and bigger projects, trying to find my new footing, and learning that things that were once quick and easy may now take longer than expected to complete.  Something else gets my full attention now.  I'm appreciating these last bits of time that my daughter is immobile, as I notice the box of pins, tubes of glue, pairs of scissors, and hot glue guns laying out across the table: my innocent crafting will soon become a danger doom zone.  Gone are the days of just letting the pins drop and then running a magnet across the floor when the project is done, or leaving projects out on the dining room table for days until they are complete.  I will have to change my entire methods of approach, figure out how to be a parent and a crafter at the same time, and learn how to be a tidy creator in order to keep the danger at a minimum.  


It's cool, she's totally worth it.  

Wednesday, March 20, 2013

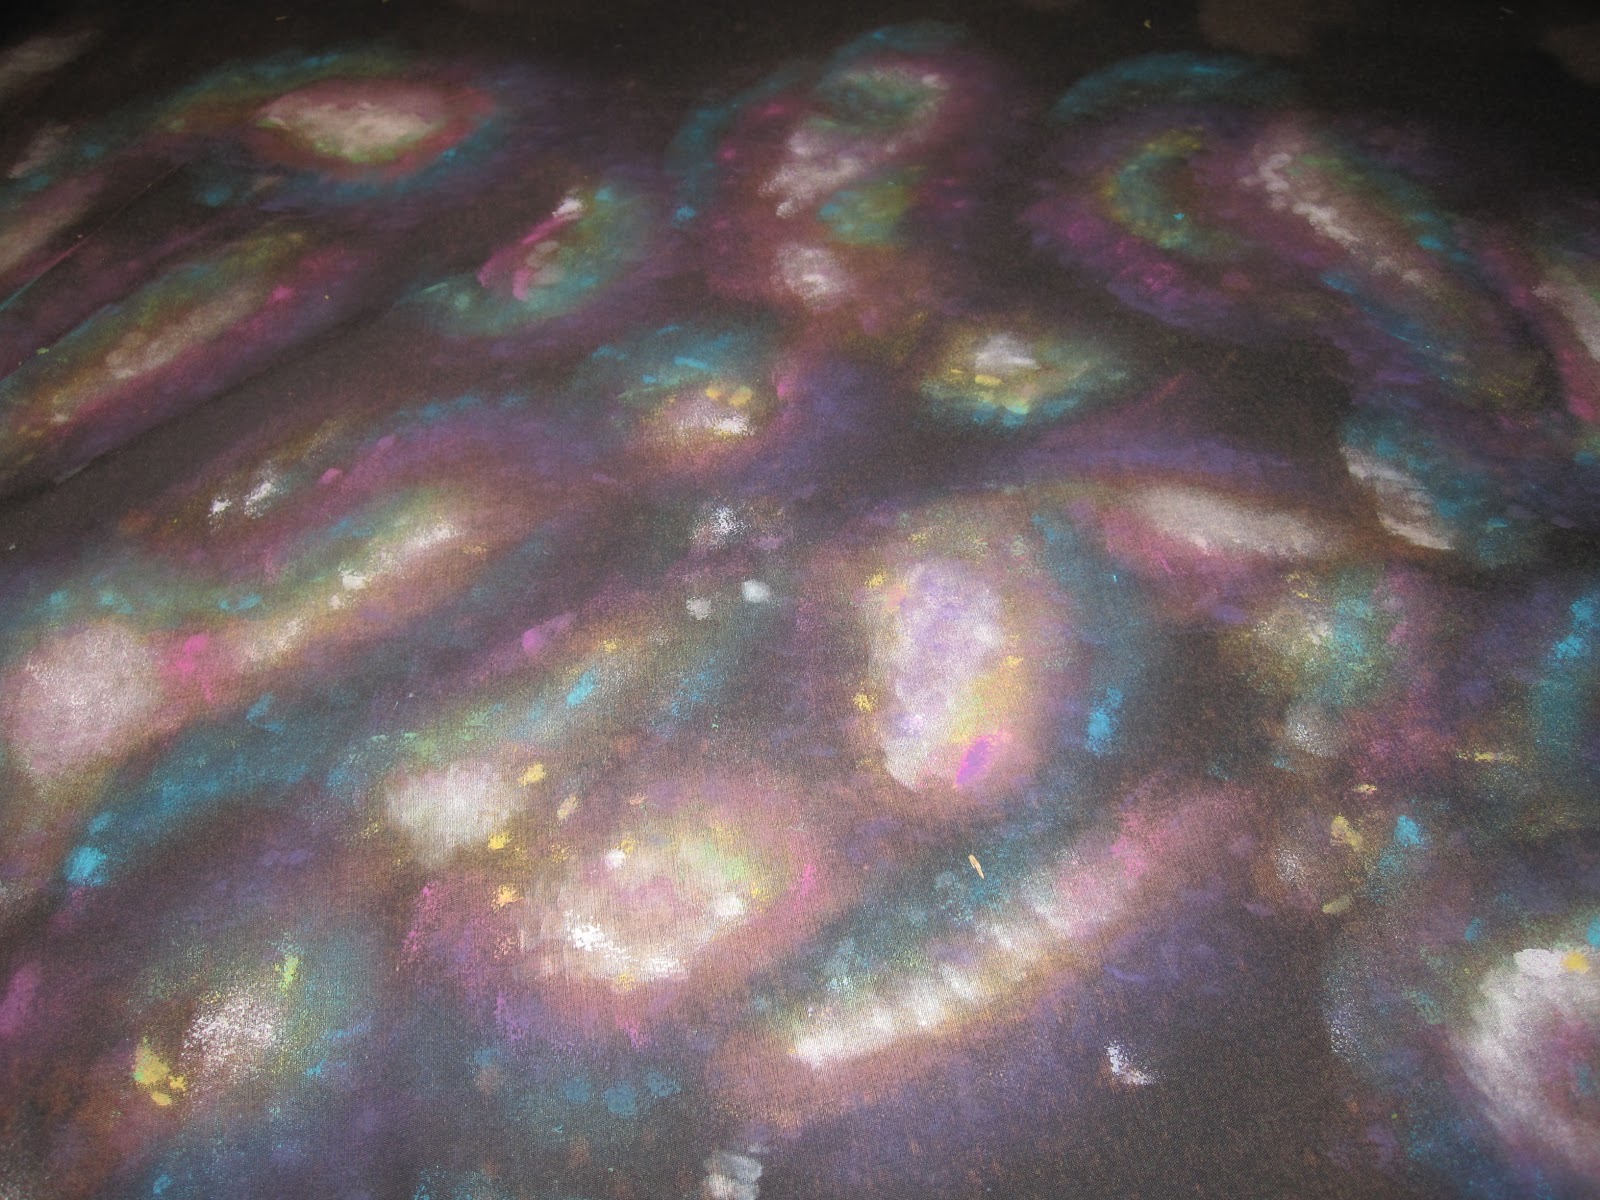
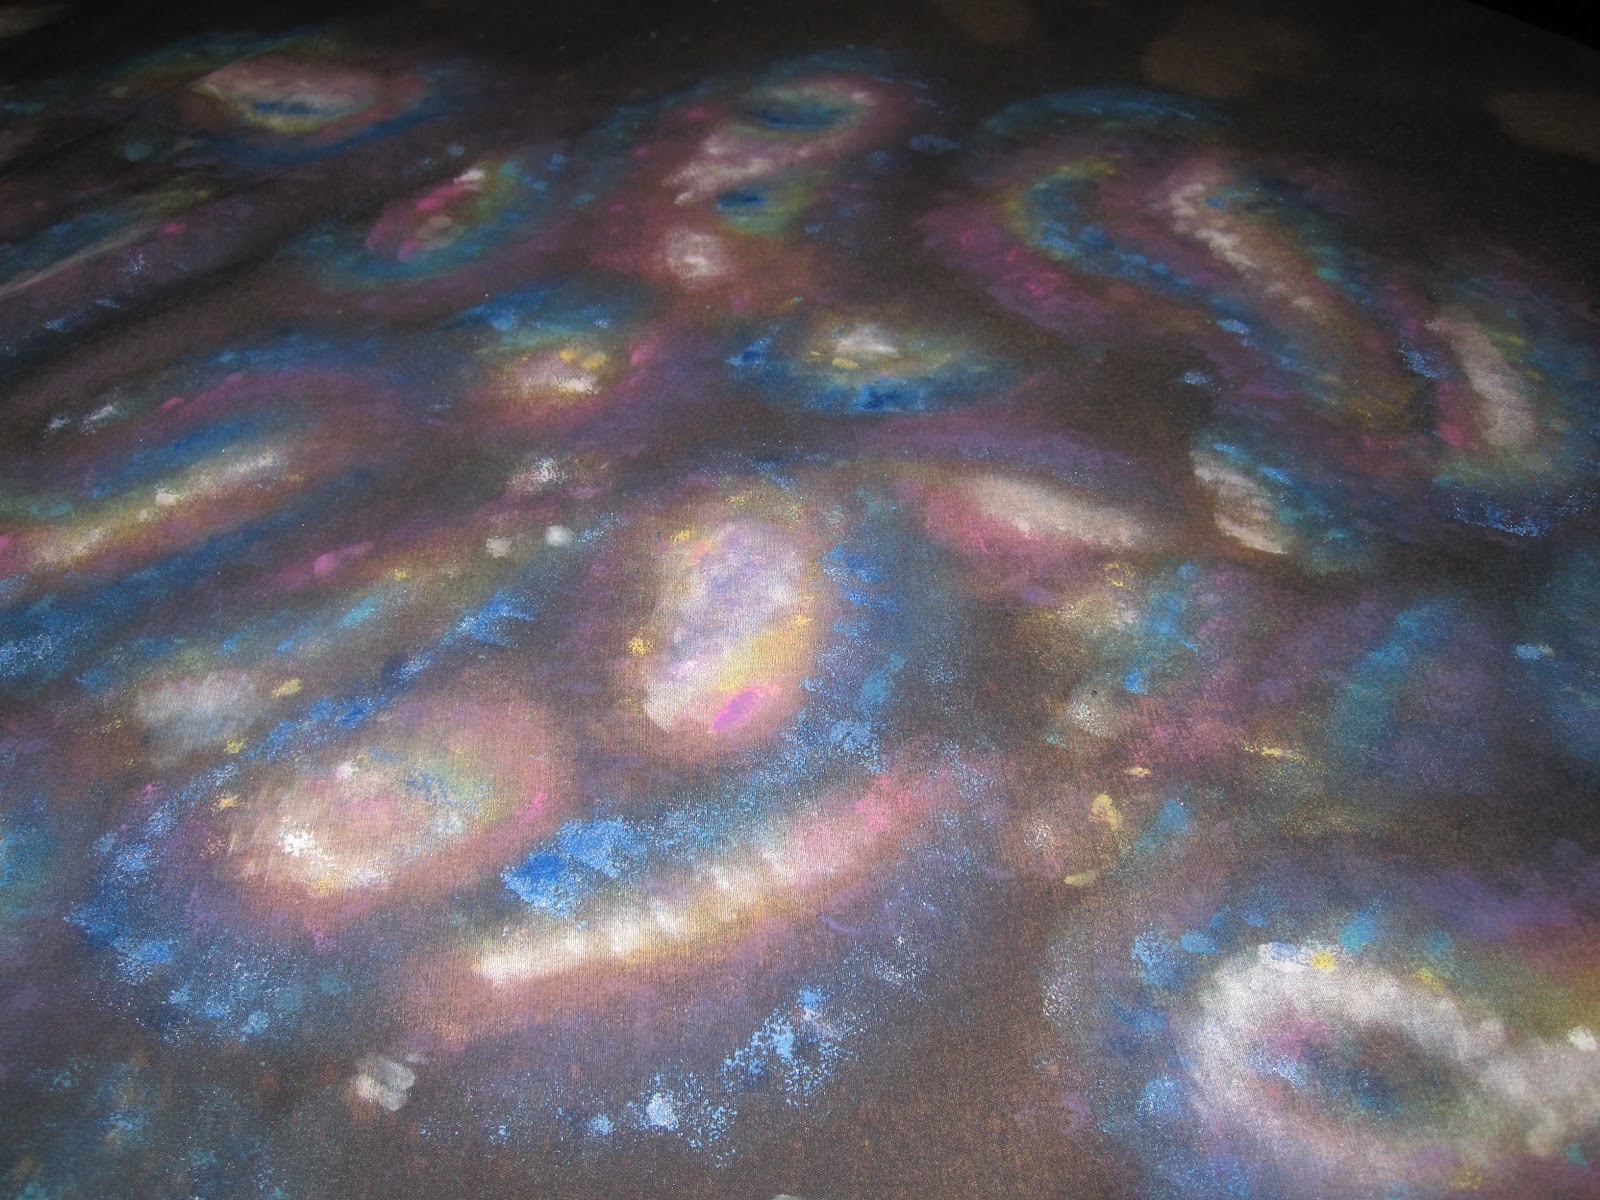
DIY Galaxy Print Fabric

I am completely going to skip over the fact that it's been 5 months since my last post.  Whatever.

So, it's Spring!  Flowers are blooming, allergies are going bananas, the garden is being planted, and we all have overwhelming desires to redecorate our entire houses.  Due to constraints like "money" and "spare time" we usually have to make due with just cleaning out our closets.  Sometime around Christmas my wrapping materials got mixed into my craft closet and it just never recovered from the holiday chaos.  Ooof.  I'll get to it one of these days.   
Anyway, in this burst of energy and newness, I decided that I wanted to make new curtains for the house.  Despite all of my sewing skillz, I never got around to doing that when we moved in.  It's time.  
I told Eric about my idea, and asked if he had any opinions about curtains.  He said "Space."  ( His 2nd and 3rd options were "cowboys" and "dinosaurs."  That's totally why I love this man.)
Space being decided, I began the hunt for fabric.  And by hunt, I mean an epic journey of despair and disappointment.  If you can call 3 days an epic journey - that's how long it took me to give up.  Space fabric comes in 2 forms: 1) cartoony and a little pricey, and 2) only okay and still expensive.  
So, what do we do when we can't find what we want?  We make it ourselves!   
I saw a thing on Pinterest about doing diy galaxy printed clothing, so I did some research on the different methods, and began!  Here is my process - I used an old black sheet but this can be done with any material or clothing.  

materials:
Black fabric
Bleach in a spray bottle
acrylic paint in assorted colors
sponges
an old toothbrush

To start, take your old black sheet outside, and use a spray bottle of bleach over parts of fabric - being lighter in some areas and more intense in others.  Dilute your bleach just a tad.  Let it sit for about 10 minutes or so, or until you get the desired effect.  Then wash it to stop the bleaching process.  Dry.  Now your canvas is ready!   
Note: if I were to do this again, I would probably make the bigger spray areas further away from each other to cut back on painting time and create more black space, but do whatever you want!  


Bleached!
Take out your acrylic paints, and choose the colors you want to use.  If you have no idea where to start, go to Google images, and search "nebulas."  Pick your favorite one, and use that as your guide.  You will need your colors, and black and white.   Dilute your paint with a few drops of water.  Use sponges to dab the paint on lightly - the more natural and textured your sponge, the better.  Don't be too heavy handed with the paint - you can always build up layers of it, doing one color at a time.  I had luck working from lightest to darkest.

Start with your white, and use it to highlight your lighter bleached areas.

Yellow highlights around the edges of the white.

Then some pink.

Next I did 2 shades of purple.

Then some light sea foamy green.

Some light, bright blue.

Darker, glitter blue!  Cause ya always need glitter!

Then I went over some area with black paint to soften the edges, and darken a few spots up.

When you have your paint finished, take an old toothbrush, put some white paint on the bristles, and flick it with your thumb so that little white paint speck "stars" fling on to your fabric.

And viola!  you are done.  


Though, obviously, I am not done.  This corner of my sheet took about 4 hours to paint, so I didn't finish the whole sheet.  But I am very happy with the results so far.  Hopefully a weekend of painting will result in some new curtains next week!  I'll post the final product when it's done!  

Friday, December 7, 2012

The Wreathing

So, I finally remembered to actually take step by step photos for a craft project I've been working on!  Mostly.  It's like 3/4 documented, you'll get the idea.   I'm very proud of myself.  When you get into craft zone, it's really hard remembering to stop every couple of minutes and take a picture of what you're doing.  I'm now convinced that all crafty ladies have a photographer boyfriend or roommate looking over their shoulder, snapping away at photos while they work!

 Today I'll  be showing you how to make a very simple, rustic-styled wreath.  It's not exactly what I envisioned at the start, but I love the weird, quirky cuteness of it.  It's part fairy tale, part Blair Witch.  I made a few of them recently, one as a memorial wreath for bestie Amy's beloved cat Sidney, and then several for a Forest Animal & Fairy Tale-themed wedding/baby shower I'm throwing for awesome couple-friends of mine.  

Here's what it looks like in the end:


I started out buying a bunch of sticks from Hobby Lobby.  This size bunch was $7.99, but they were 50% off when I went in.  Score!   While in that section I also found this big bunch of blue/teal grassy stuff, also half off, and bought it to accent the wreath, as brown and teal were the party theme colors!  

Blue mystery plant grass!
Sticks!

So, I started by chopping my wood.  I cut the sticks into about foot long sections, and separated my cuts into three piles: Plain, thicker sticks from the end, bushier branchy sections, and tiny single pieces that fell or broke off as I separated the  others.  Oooops.

You could always just got outside and pick up sticks off the ground, ya know.  
Then I took 4 of the thicker sticks, and hot glued them into a diamond shape.  (Or a square, they're the same.  You can make any shape you want.)  

The power of hot glue compels you!
Pick a top to your project.  Start hot gluing the branchy, bushier stick sections onto the base, tips pointing in the general direction of the top.  I chose a top point, and glued the branches out and upwards.  It doesn't have to be perfect.  For smaller sticks, I'd just put a drop of glue every few inches to hold it down.  Put a few layers of sticks on there.  

This is some serious crating, y'all.  
Total Blair Witch, right?


Then, I did the same with the blue grass, weaving it between sticks sometimes.  This is when I stopped taking photos, but you get the idea.  I then added some decorative accents: butterflies I cut out of scrapbook paper, and roses made from dyed coffee filters (info on those at the end).
And Viola: your very own super cute, only slightly creepy, woodsy fairy tale wreath!


Bonus: I took some leftover sticks and grass, and threw them into some lanterns my sister gave me, along with a decorative bird for more party decor.

Tweet!  Tweet!  We're trapped in an adorable lantern!

**Rose tutorial can be found here: 
http://kuchnia-pelna-cudow.blogspot.com/2011/02/zapraszam-na-kawe.html   
I followed it almost exactly, using hot glue and india inks.  

Purty.  

Wednesday, November 21, 2012

FLASHBACK! Autumn's Wedding Dress

The problem with trying to maintain a crafting blog during the holiday season is that I'm uber busy making holiday gifts for the people in my life, but those are the same people who primarily read this blog (Hi Mom!), so I can't show you anything I'm currently working on.  January will be filled with posts about all the cool stuff I made, but for now, I've got nothing!  So here's a look back to an old project of mine.  
(I will from time to time, out of laziness or business, just feature old projects I've done, to show off the archive of things made before I started this blog!)  

FLASHBACK!   Autumn's Wedding Dress, Spring 2011


The fabulous Autumn was a friend of a friend, who was referred to me to create a custom wedding dress.  Autumn and I met for happy hour one day to discuss her dress, timeline, and budget.  I had asked her to do some research before hand - hunt through magazines, the internet, whatever, and find pictures.  For example: I like this sleeve, I hate this neckline, I like this but could never pull it off...  I usually ask people to do something like this  when we start a new project so that I can get a feel for their opinions and tastes.  What do they love, what do they hate?   So Autumn had brought a lot of photos, and luckily for me knew for the most part the direction she wanted to go, and the influences she wanted it to have. She described her ideal dress as "David Bowie's Ballerina"and I loved her on the spot.  

I draped the base out of champagne dupioni silk, internally lined with a white satin.  (I don't use patterns - I prefer to create my own designs!)  The exterior was layers of embroidered off-white chiffon, golden tulle, and a champagne sheer voile that were all draped onto the dress shape itself.   We did not want it to look perfect, but neither did we want it to look sloppy.  So while the pieces are uneven, they are not overly jagged.  It poofed and pointed without looking distressed.    

For the belt and lacing we chose a vibrant purple silk to off set the beige tones of the dress, and you can see how well that worked!  She was a gorgeous bride and I seriously wanted to just keep the dress for myself!  


PS - this project got me featured on an AWESOME craft blog: Never a Plain Jane.
Go read it and check out how fabulous Janice is!
If you want to read a little bit more about me, check out the article she wrote:
http://neveraplainjane.blogspot.com/2011/09/my-new-best-friend.html

Thursday, November 8, 2012

Sachets and Stitches

Not every project can be a ginormous undertaking that takes over your house and invades your dreams for the weeks you spend working on it.  Sometimes, you need small, simple crafts that you can do  drunk while cooking dinner and watching Game of Thrones for the 7th time.  Making felt lavender sachets is one such simple project I've been working on this week.
 
My fabulous sister has spent weeks working on handmade crafts and art to sell at a Holiday bazaar, and on a whim one day, while she sat at my sewing machine happily creating lavender eye pillows, I decided to make a sachet.
Note: a sachet is a small pocket that contains good-smelling stuff - in this case, lavender.  They are great for the car, or drawers, or any enclosed space that could smell better!
Anyway, I pulled out my big bag of felt scraps (yeah, like you don't have one of those!) and just made some cutesy little circles with decorative hand stitching, stuffed the layers with lavender, and hot glued it all together.  Viola!  They turned out pretty neato for being so simple, so I took a bag of lavender for myself, and whipped up a dozen circle sachets for the sis to sell at her bazaar.


And then, my love of puns struck as I was trying to brainstorm a new shape to make.  It doesn't quite translate in writing, but Mustache + Sachets = Mustachets!   Little lavender mustaches to add scent and style to your world!  Yeah, I'm adorable, I know.  Hopefully the rest of Austin agrees with me and spends a few bucks on them.  


It was nice to work on something so easy and brainless after the undertaking that those Borg costumes were.  Crafting can be very calming and enjoyable when you don't have to stress about every step you take.  And BONUS: my bestie Amy got inspired and made a craft of her own - a sachet shaped like the planet Saturn, ring and all!  This is a big step for her: She had never sewn a stitch before in her life!   Despite having to overcome such hardships and handicaps as being left-handed in a world of scissors made for righties, she is now in full on craft mode and we have big DIY plans for the Christmas season!  Nothing can stop the power Crafting!  Woo hoo!

Amy discovers her inner crafter


Tuesday, November 6, 2012

The Borg Costumes 2012

So, Halloween 2012 has come and gone.  This year, Eric and I had grand designs on costuming and became The Borg from Star Trek: The Next Generation, as we would be attending the Austin Comic Con.
If I do say so myself, we looked AWESOME.   Complete success.   We weren't going  for 100% accuracy - we didn't have that kind of budget.  But the direction we took exceeded my expectations, and that's pretty much the best you can do with any costume!

 Borg 2012 - Austin Comic Con

Borg - Assimilate the Red Shirt

I've been dreading writing a long "How to assimilate yourself into the Borg" post, so I've decided to just not write it in full.  Long story short:
We bought plain black under clothes and a bunch of various athletic pads from thrift stores, and "Borg-ed" them out, using about 250 sticks of hot glue, a variety of shelf liner/grip liner for textures, various hardware painted black, and many different kinds of wires.  The arm extensions were Home Depot finds that got the Borg treatment, and Eric wired up our LED lights using his techno-genius skill, then strapped us all together!

Wes as Lady Borg

Eric as Tactical Borg
We had a blast at Austin Comic Con, but it was next to impossible to get anywhere or do anything - we were stopped for photos every 2 feet.  We felt like part of the attraction, not guests at the event.  It definitely made the Con a much different experience.  But we would totally do it again!


Borg and Cyberman - Partners in Assimilation
Borg 2012 - Resistance is Futile 
Borg in Love - photo by Do512


Next costume project: Winter Snow King and Queen for the Austin Santa Rampage 2012!