Showing posts with label DIY. Show all posts

Wednesday, March 20, 2013

DIY Galaxy Print Fabric

I am completely going to skip over the fact that it's been 5 months since my last post.  Whatever.

So, it's Spring!  Flowers are blooming, allergies are going bananas, the garden is being planted, and we all have overwhelming desires to redecorate our entire houses.  Due to constraints like "money" and "spare time" we usually have to make due with just cleaning out our closets.  Sometime around Christmas my wrapping materials got mixed into my craft closet and it just never recovered from the holiday chaos.  Ooof.  I'll get to it one of these days.   
Anyway, in this burst of energy and newness, I decided that I wanted to make new curtains for the house.  Despite all of my sewing skillz, I never got around to doing that when we moved in.  It's time.  
I told Eric about my idea, and asked if he had any opinions about curtains.  He said "Space."  ( His 2nd and 3rd options were "cowboys" and "dinosaurs."  That's totally why I love this man.)
Space being decided, I began the hunt for fabric.  And by hunt, I mean an epic journey of despair and disappointment.  If you can call 3 days an epic journey - that's how long it took me to give up.  Space fabric comes in 2 forms: 1) cartoony and a little pricey, and 2) only okay and still expensive.  
So, what do we do when we can't find what we want?  We make it ourselves!   
I saw a thing on Pinterest about doing diy galaxy printed clothing, so I did some research on the different methods, and began!  Here is my process - I used an old black sheet but this can be done with any material or clothing.  

materials:
Black fabric
Bleach in a spray bottle
acrylic paint in assorted colors
sponges
an old toothbrush

To start, take your old black sheet outside, and use a spray bottle of bleach over parts of fabric - being lighter in some areas and more intense in others.  Dilute your bleach just a tad.  Let it sit for about 10 minutes or so, or until you get the desired effect.  Then wash it to stop the bleaching process.  Dry.  Now your canvas is ready!   
Note: if I were to do this again, I would probably make the bigger spray areas further away from each other to cut back on painting time and create more black space, but do whatever you want!  


Bleached!
Take out your acrylic paints, and choose the colors you want to use.  If you have no idea where to start, go to Google images, and search "nebulas."  Pick your favorite one, and use that as your guide.  You will need your colors, and black and white.   Dilute your paint with a few drops of water.  Use sponges to dab the paint on lightly - the more natural and textured your sponge, the better.  Don't be too heavy handed with the paint - you can always build up layers of it, doing one color at a time.  I had luck working from lightest to darkest.

Start with your white, and use it to highlight your lighter bleached areas.

Yellow highlights around the edges of the white.

Then some pink.

Next I did 2 shades of purple.

Then some light sea foamy green.

Some light, bright blue.
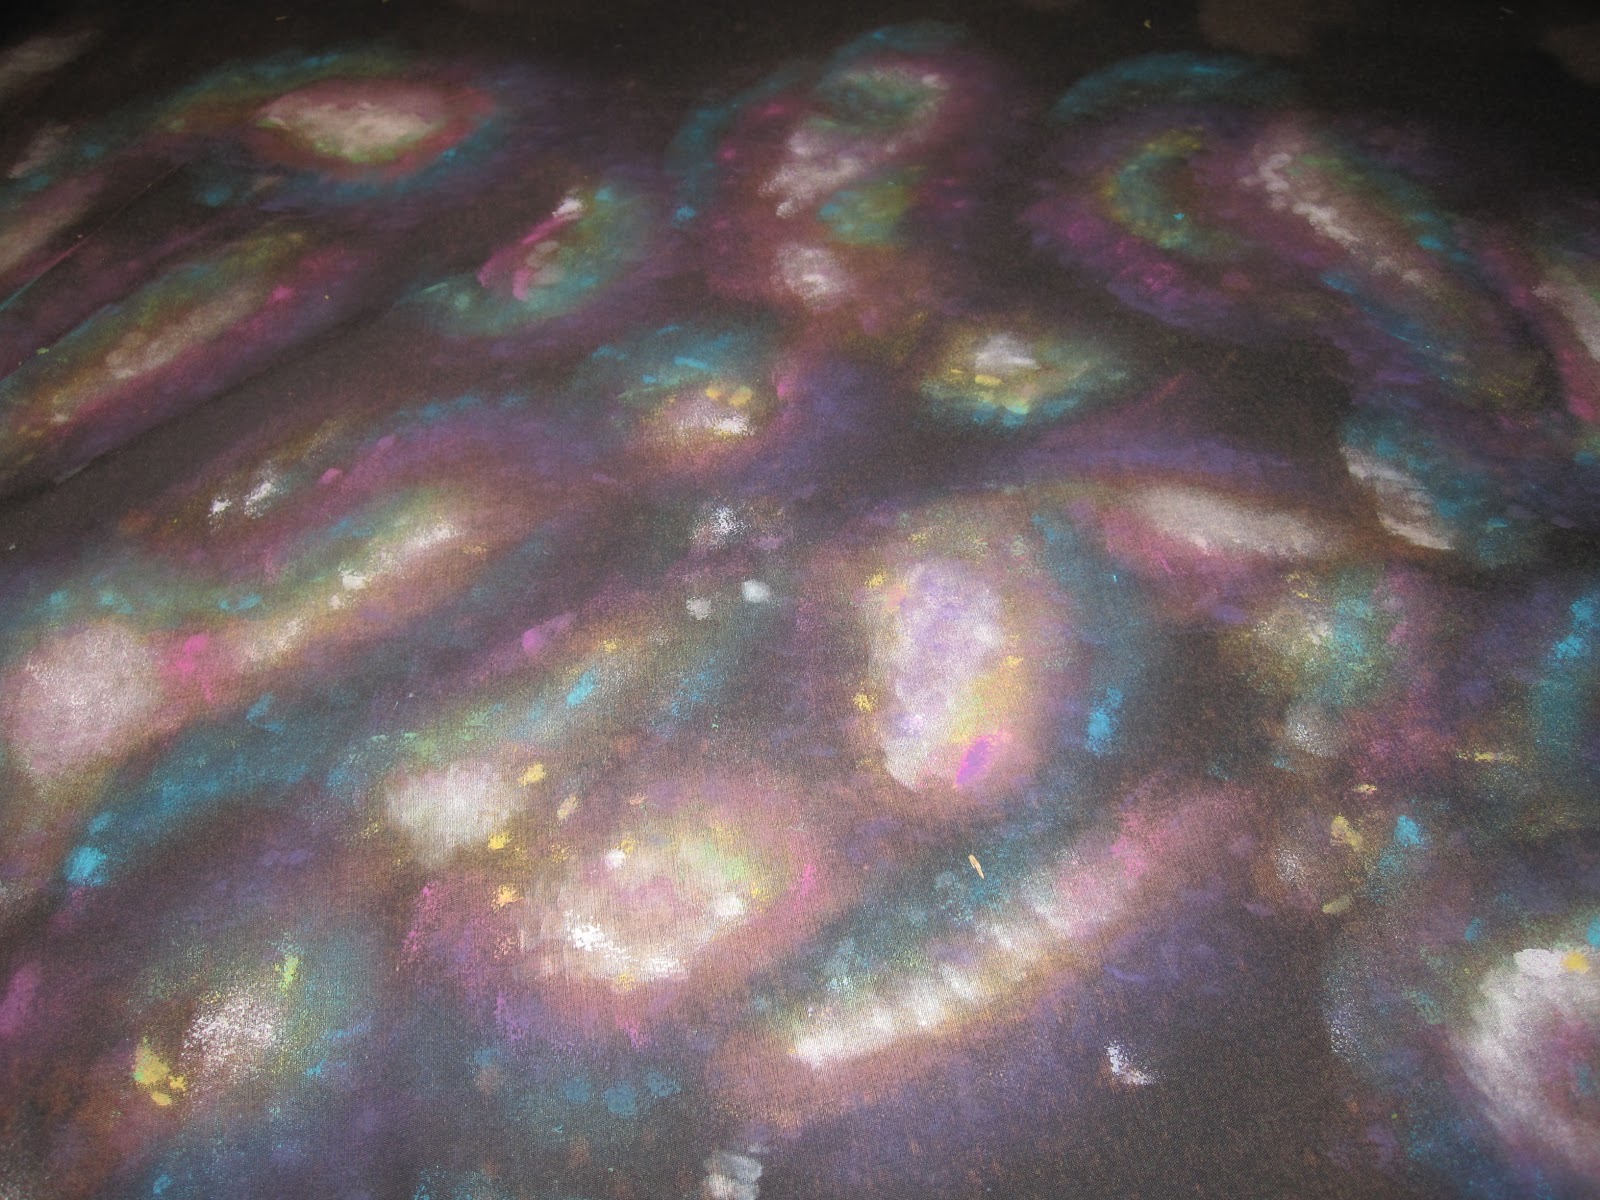
Darker, glitter blue!  Cause ya always need glitter!
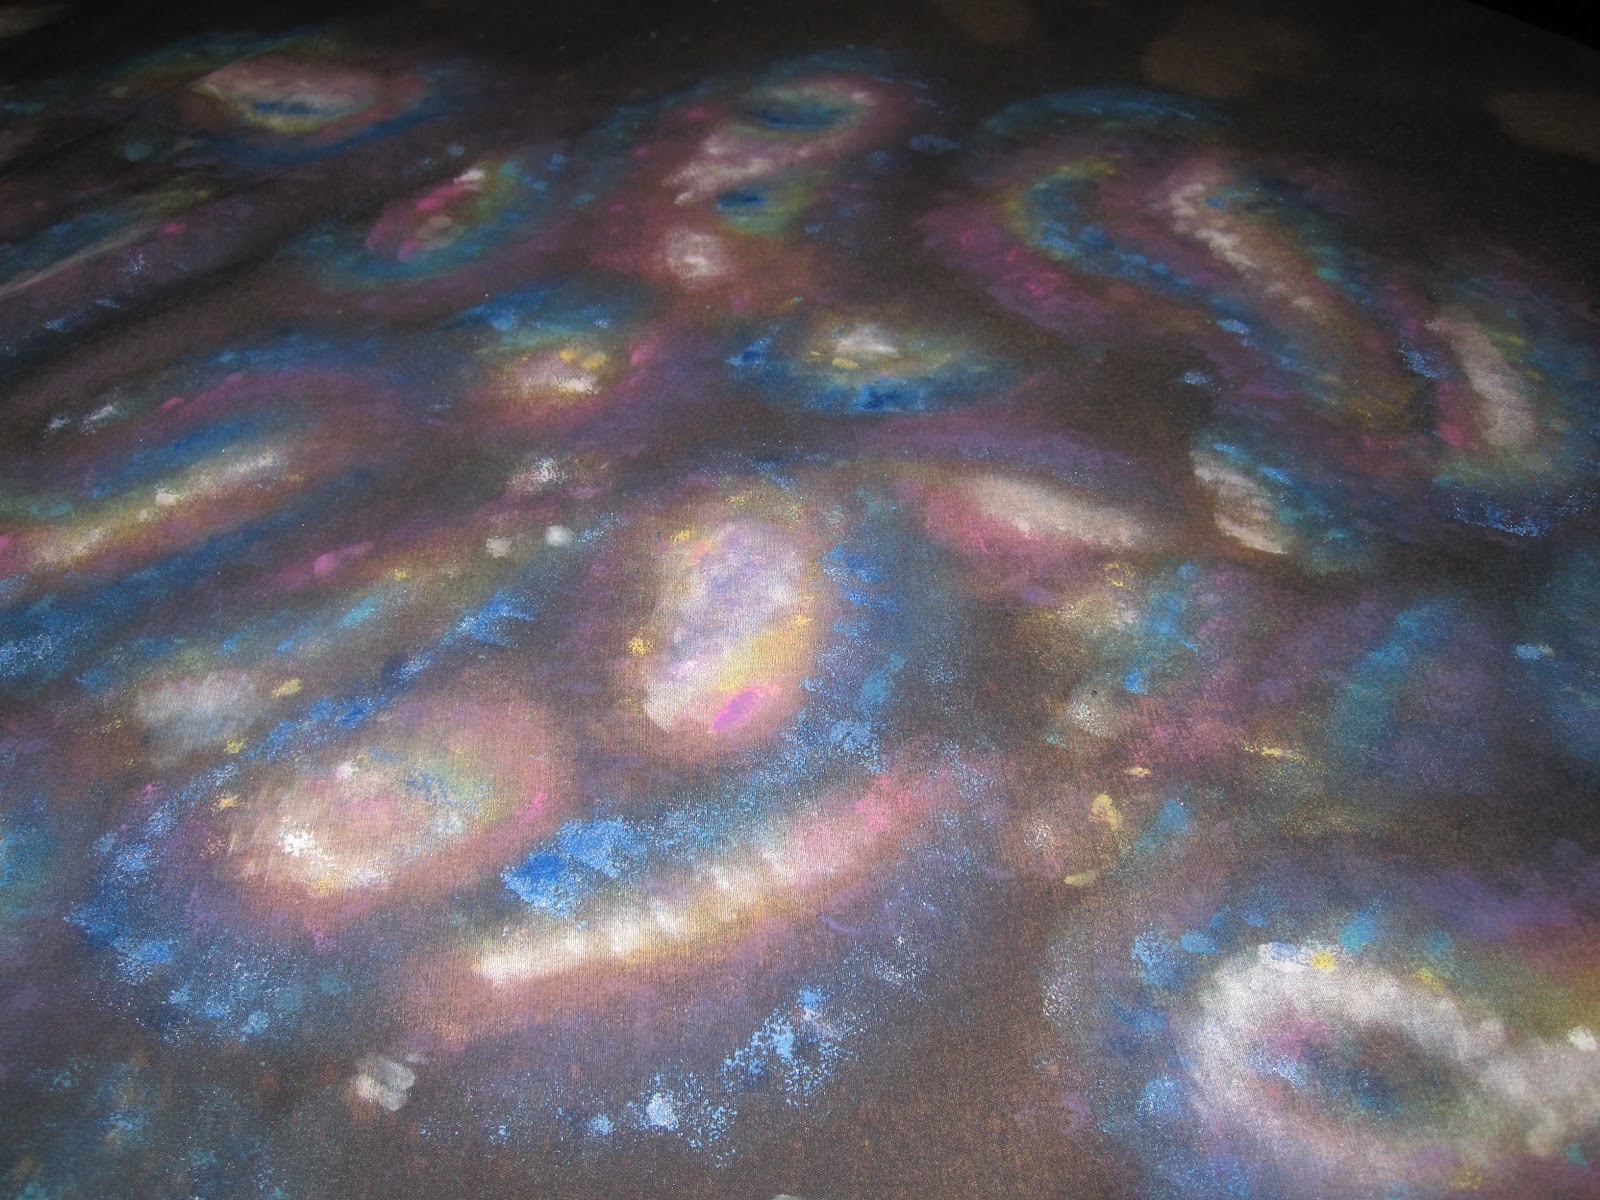
Then I went over some area with black paint to soften the edges, and darken a few spots up.

When you have your paint finished, take an old toothbrush, put some white paint on the bristles, and flick it with your thumb so that little white paint speck "stars" fling on to your fabric.

And viola!  you are done.  


Though, obviously, I am not done.  This corner of my sheet took about 4 hours to paint, so I didn't finish the whole sheet.  But I am very happy with the results so far.  Hopefully a weekend of painting will result in some new curtains next week!  I'll post the final product when it's done!  

Thursday, November 8, 2012

Sachets and Stitches

Not every project can be a ginormous undertaking that takes over your house and invades your dreams for the weeks you spend working on it.  Sometimes, you need small, simple crafts that you can do  drunk while cooking dinner and watching Game of Thrones for the 7th time.  Making felt lavender sachets is one such simple project I've been working on this week.
 
My fabulous sister has spent weeks working on handmade crafts and art to sell at a Holiday bazaar, and on a whim one day, while she sat at my sewing machine happily creating lavender eye pillows, I decided to make a sachet.
Note: a sachet is a small pocket that contains good-smelling stuff - in this case, lavender.  They are great for the car, or drawers, or any enclosed space that could smell better!
Anyway, I pulled out my big bag of felt scraps (yeah, like you don't have one of those!) and just made some cutesy little circles with decorative hand stitching, stuffed the layers with lavender, and hot glued it all together.  Viola!  They turned out pretty neato for being so simple, so I took a bag of lavender for myself, and whipped up a dozen circle sachets for the sis to sell at her bazaar.


And then, my love of puns struck as I was trying to brainstorm a new shape to make.  It doesn't quite translate in writing, but Mustache + Sachets = Mustachets!   Little lavender mustaches to add scent and style to your world!  Yeah, I'm adorable, I know.  Hopefully the rest of Austin agrees with me and spends a few bucks on them.  


It was nice to work on something so easy and brainless after the undertaking that those Borg costumes were.  Crafting can be very calming and enjoyable when you don't have to stress about every step you take.  And BONUS: my bestie Amy got inspired and made a craft of her own - a sachet shaped like the planet Saturn, ring and all!  This is a big step for her: She had never sewn a stitch before in her life!   Despite having to overcome such hardships and handicaps as being left-handed in a world of scissors made for righties, she is now in full on craft mode and we have big DIY plans for the Christmas season!  Nothing can stop the power Crafting!  Woo hoo!

Amy discovers her inner crafter