Friday, December 7, 2012

The Wreathing

So, I finally remembered to actually take step by step photos for a craft project I've been working on!  Mostly.  It's like 3/4 documented, you'll get the idea.   I'm very proud of myself.  When you get into craft zone, it's really hard remembering to stop every couple of minutes and take a picture of what you're doing.  I'm now convinced that all crafty ladies have a photographer boyfriend or roommate looking over their shoulder, snapping away at photos while they work!

 Today I'll  be showing you how to make a very simple, rustic-styled wreath.  It's not exactly what I envisioned at the start, but I love the weird, quirky cuteness of it.  It's part fairy tale, part Blair Witch.  I made a few of them recently, one as a memorial wreath for bestie Amy's beloved cat Sidney, and then several for a Forest Animal & Fairy Tale-themed wedding/baby shower I'm throwing for awesome couple-friends of mine.  

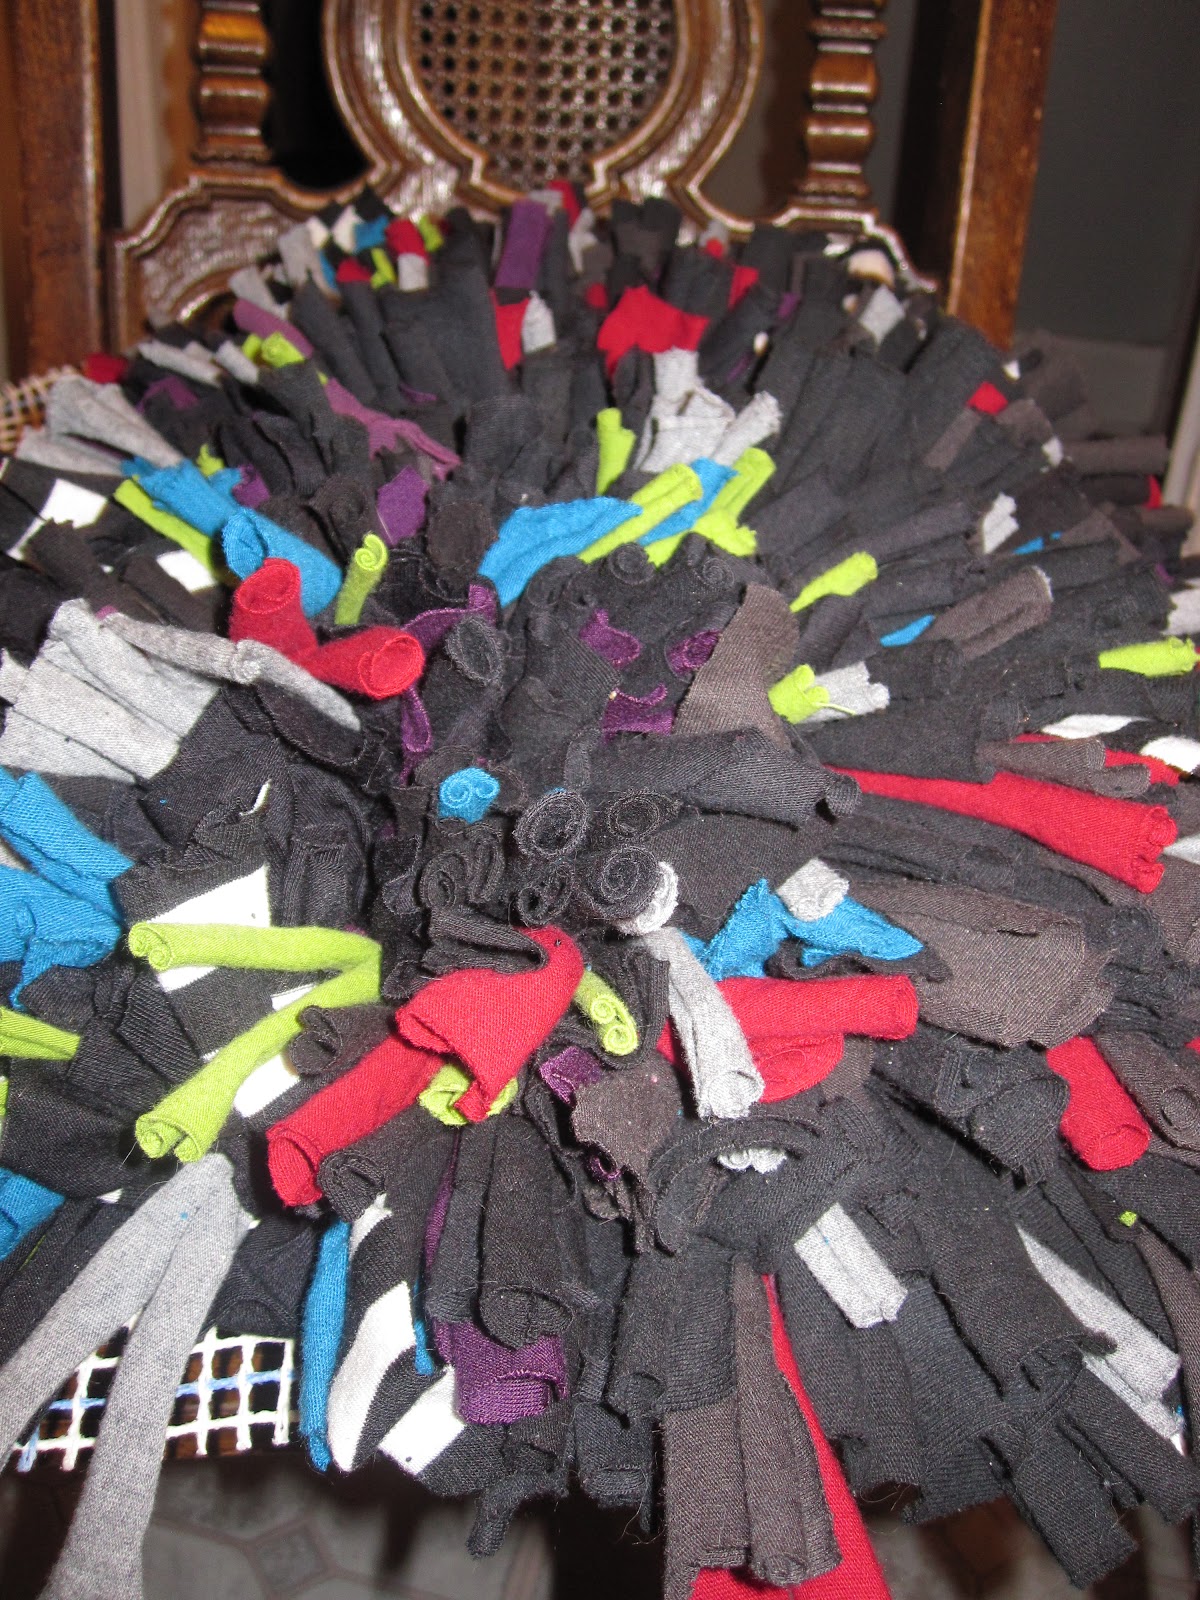
Here's what it looks like in the end:


I started out buying a bunch of sticks from Hobby Lobby.  This size bunch was $7.99, but they were 50% off when I went in.  Score!   While in that section I also found this big bunch of blue/teal grassy stuff, also half off, and bought it to accent the wreath, as brown and teal were the party theme colors!  

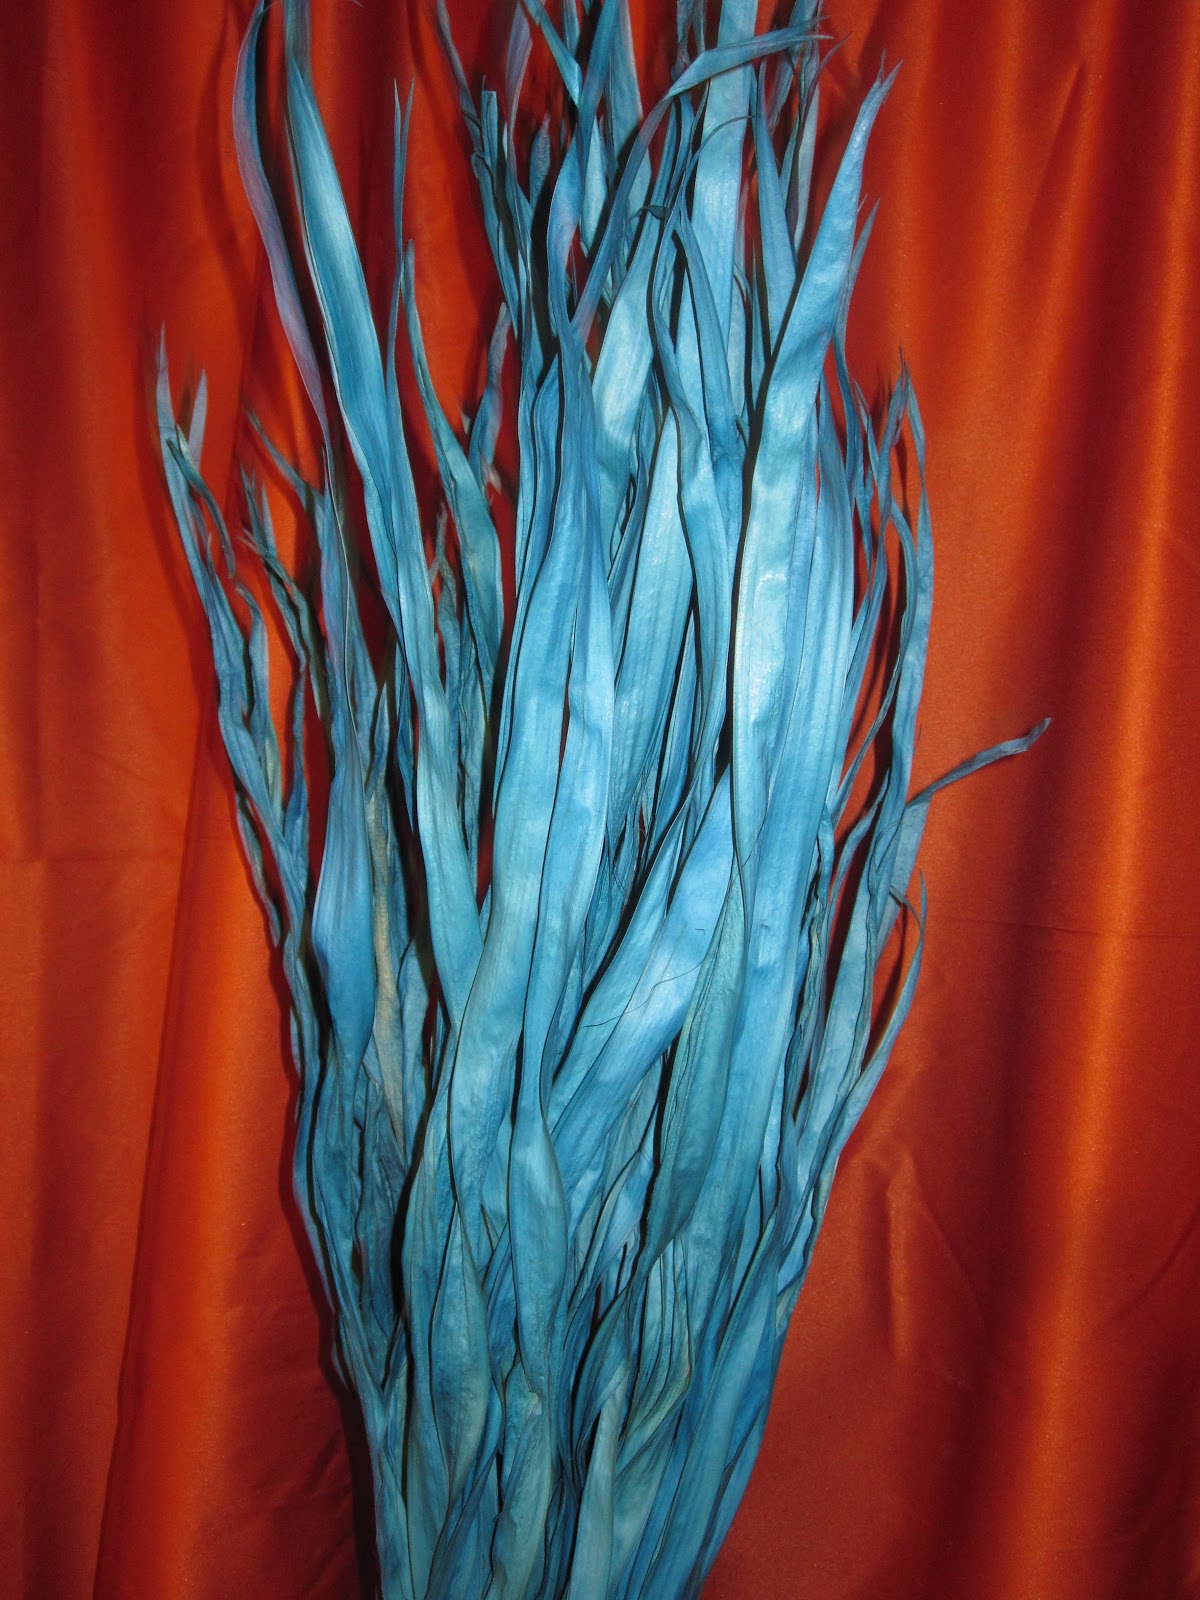
Blue mystery plant grass!
Sticks!

So, I started by chopping my wood.  I cut the sticks into about foot long sections, and separated my cuts into three piles: Plain, thicker sticks from the end, bushier branchy sections, and tiny single pieces that fell or broke off as I separated the  others.  Oooops.

You could always just got outside and pick up sticks off the ground, ya know.  
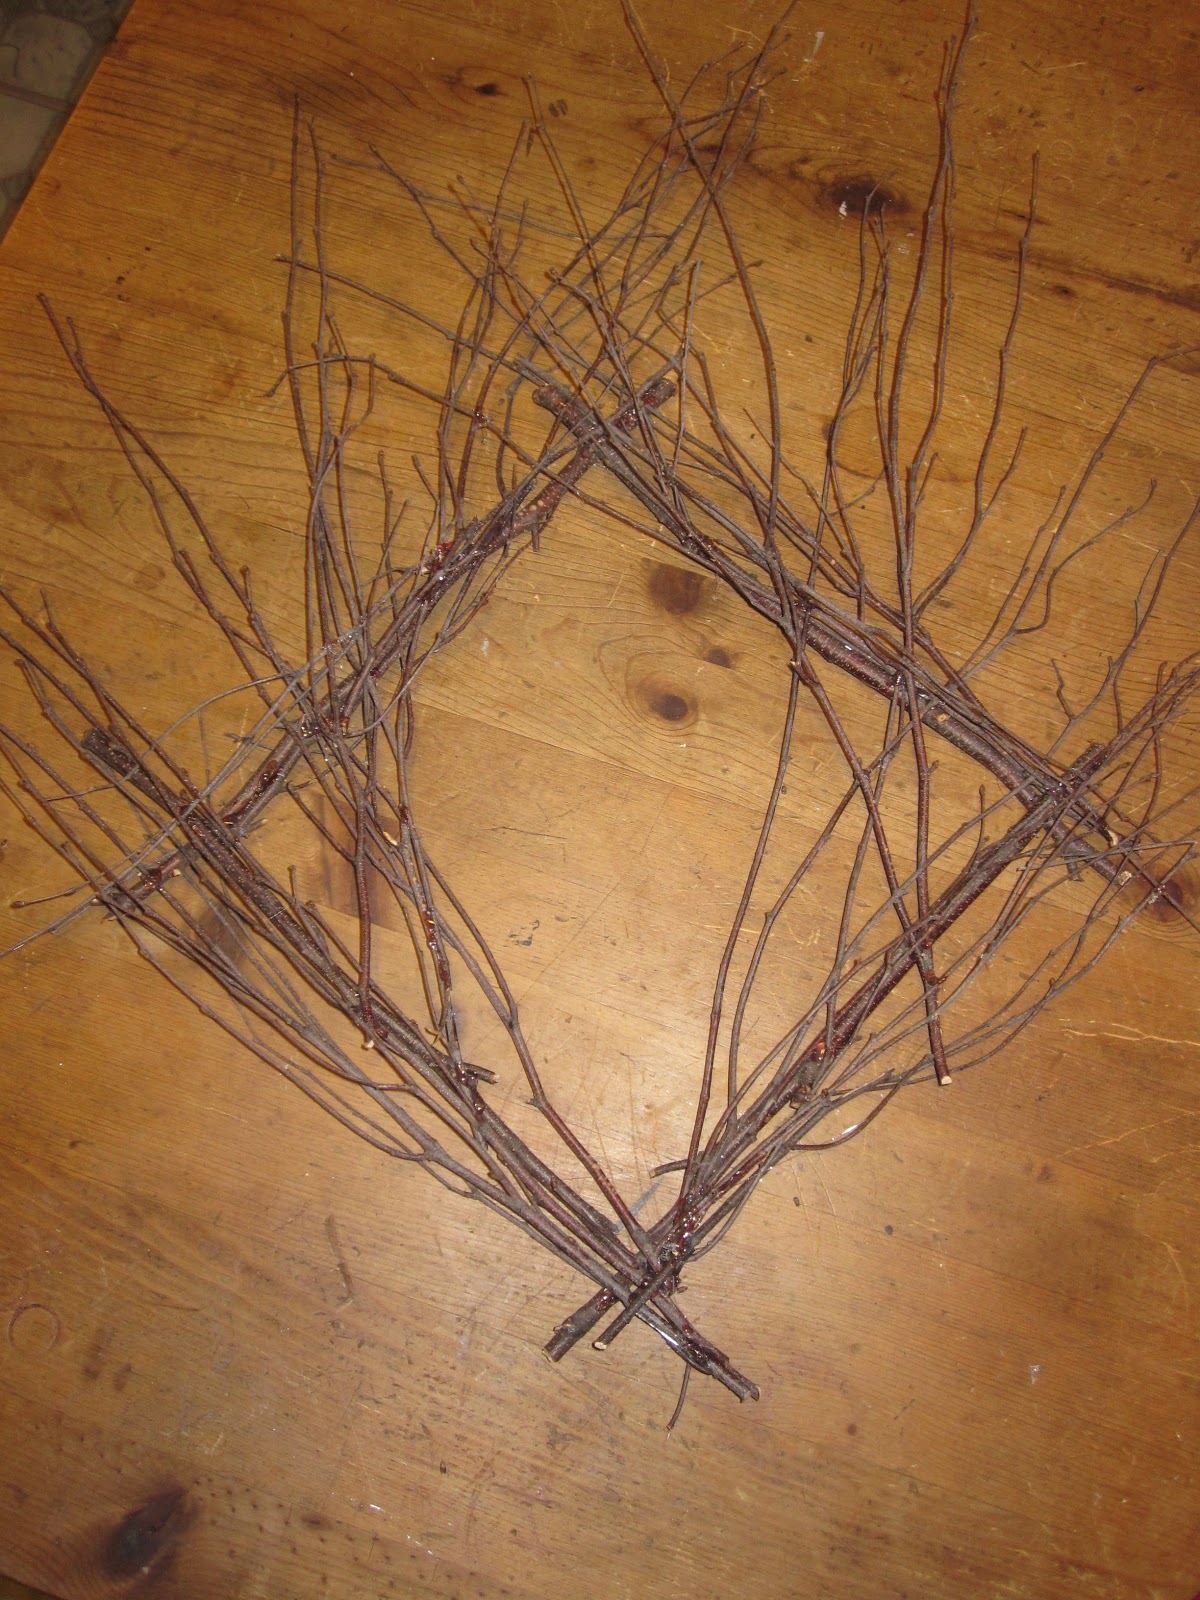
Then I took 4 of the thicker sticks, and hot glued them into a diamond shape.  (Or a square, they're the same.  You can make any shape you want.)  

The power of hot glue compels you!
Pick a top to your project.  Start hot gluing the branchy, bushier stick sections onto the base, tips pointing in the general direction of the top.  I chose a top point, and glued the branches out and upwards.  It doesn't have to be perfect.  For smaller sticks, I'd just put a drop of glue every few inches to hold it down.  Put a few layers of sticks on there.  

This is some serious crating, y'all.  
Total Blair Witch, right?


Then, I did the same with the blue grass, weaving it between sticks sometimes.  This is when I stopped taking photos, but you get the idea.  I then added some decorative accents: butterflies I cut out of scrapbook paper, and roses made from dyed coffee filters (info on those at the end).
And Viola: your very own super cute, only slightly creepy, woodsy fairy tale wreath!


Bonus: I took some leftover sticks and grass, and threw them into some lanterns my sister gave me, along with a decorative bird for more party decor.

Tweet!  Tweet!  We're trapped in an adorable lantern!

**Rose tutorial can be found here: 
http://kuchnia-pelna-cudow.blogspot.com/2011/02/zapraszam-na-kawe.html   
I followed it almost exactly, using hot glue and india inks.  

Purty.  

Wednesday, November 21, 2012

FLASHBACK! Autumn's Wedding Dress

The problem with trying to maintain a crafting blog during the holiday season is that I'm uber busy making holiday gifts for the people in my life, but those are the same people who primarily read this blog (Hi Mom!), so I can't show you anything I'm currently working on.  January will be filled with posts about all the cool stuff I made, but for now, I've got nothing!  So here's a look back to an old project of mine.  
(I will from time to time, out of laziness or business, just feature old projects I've done, to show off the archive of things made before I started this blog!)  

FLASHBACK!   Autumn's Wedding Dress, Spring 2011


The fabulous Autumn was a friend of a friend, who was referred to me to create a custom wedding dress.  Autumn and I met for happy hour one day to discuss her dress, timeline, and budget.  I had asked her to do some research before hand - hunt through magazines, the internet, whatever, and find pictures.  For example: I like this sleeve, I hate this neckline, I like this but could never pull it off...  I usually ask people to do something like this  when we start a new project so that I can get a feel for their opinions and tastes.  What do they love, what do they hate?   So Autumn had brought a lot of photos, and luckily for me knew for the most part the direction she wanted to go, and the influences she wanted it to have. She described her ideal dress as "David Bowie's Ballerina"and I loved her on the spot.  

I draped the base out of champagne dupioni silk, internally lined with a white satin.  (I don't use patterns - I prefer to create my own designs!)  The exterior was layers of embroidered off-white chiffon, golden tulle, and a champagne sheer voile that were all draped onto the dress shape itself.   We did not want it to look perfect, but neither did we want it to look sloppy.  So while the pieces are uneven, they are not overly jagged.  It poofed and pointed without looking distressed.    

For the belt and lacing we chose a vibrant purple silk to off set the beige tones of the dress, and you can see how well that worked!  She was a gorgeous bride and I seriously wanted to just keep the dress for myself!  


PS - this project got me featured on an AWESOME craft blog: Never a Plain Jane.
Go read it and check out how fabulous Janice is!
If you want to read a little bit more about me, check out the article she wrote:
http://neveraplainjane.blogspot.com/2011/09/my-new-best-friend.html

Thursday, November 8, 2012

Sachets and Stitches

Not every project can be a ginormous undertaking that takes over your house and invades your dreams for the weeks you spend working on it.  Sometimes, you need small, simple crafts that you can do  drunk while cooking dinner and watching Game of Thrones for the 7th time.  Making felt lavender sachets is one such simple project I've been working on this week.
 
My fabulous sister has spent weeks working on handmade crafts and art to sell at a Holiday bazaar, and on a whim one day, while she sat at my sewing machine happily creating lavender eye pillows, I decided to make a sachet.
Note: a sachet is a small pocket that contains good-smelling stuff - in this case, lavender.  They are great for the car, or drawers, or any enclosed space that could smell better!
Anyway, I pulled out my big bag of felt scraps (yeah, like you don't have one of those!) and just made some cutesy little circles with decorative hand stitching, stuffed the layers with lavender, and hot glued it all together.  Viola!  They turned out pretty neato for being so simple, so I took a bag of lavender for myself, and whipped up a dozen circle sachets for the sis to sell at her bazaar.


And then, my love of puns struck as I was trying to brainstorm a new shape to make.  It doesn't quite translate in writing, but Mustache + Sachets = Mustachets!   Little lavender mustaches to add scent and style to your world!  Yeah, I'm adorable, I know.  Hopefully the rest of Austin agrees with me and spends a few bucks on them.  


It was nice to work on something so easy and brainless after the undertaking that those Borg costumes were.  Crafting can be very calming and enjoyable when you don't have to stress about every step you take.  And BONUS: my bestie Amy got inspired and made a craft of her own - a sachet shaped like the planet Saturn, ring and all!  This is a big step for her: She had never sewn a stitch before in her life!   Despite having to overcome such hardships and handicaps as being left-handed in a world of scissors made for righties, she is now in full on craft mode and we have big DIY plans for the Christmas season!  Nothing can stop the power Crafting!  Woo hoo!

Amy discovers her inner crafter


Tuesday, November 6, 2012

The Borg Costumes 2012

So, Halloween 2012 has come and gone.  This year, Eric and I had grand designs on costuming and became The Borg from Star Trek: The Next Generation, as we would be attending the Austin Comic Con.
If I do say so myself, we looked AWESOME.   Complete success.   We weren't going  for 100% accuracy - we didn't have that kind of budget.  But the direction we took exceeded my expectations, and that's pretty much the best you can do with any costume!

 Borg 2012 - Austin Comic Con

Borg - Assimilate the Red Shirt

I've been dreading writing a long "How to assimilate yourself into the Borg" post, so I've decided to just not write it in full.  Long story short:
We bought plain black under clothes and a bunch of various athletic pads from thrift stores, and "Borg-ed" them out, using about 250 sticks of hot glue, a variety of shelf liner/grip liner for textures, various hardware painted black, and many different kinds of wires.  The arm extensions were Home Depot finds that got the Borg treatment, and Eric wired up our LED lights using his techno-genius skill, then strapped us all together!

Wes as Lady Borg

Eric as Tactical Borg
We had a blast at Austin Comic Con, but it was next to impossible to get anywhere or do anything - we were stopped for photos every 2 feet.  We felt like part of the attraction, not guests at the event.  It definitely made the Con a much different experience.  But we would totally do it again!


Borg and Cyberman - Partners in Assimilation
Borg 2012 - Resistance is Futile 
Borg in Love - photo by Do512


Next costume project: Winter Snow King and Queen for the Austin Santa Rampage 2012!  


Monday, October 22, 2012

Borg Costume 2012 - sneak peek

I spent my entire weekend working on this year's Halloween costume, and dudes - I am super psyched!  Eric and I are dressing up as the Borg from Star Trek as part of the Austin Comic Con that will be happening the weekend before Halloween.  I have been gathering supplies for a few weeks, and kinda sorta knew what I intended to do, but when I actually started doing it, it amazed me how well it was turning out.  

Sneak peeks?  Oh all right!

Base costume:   
Turn an ordinary black winter vest into robot-wear.


Accessories:
Start with thrift store body armor/sports padding finds, paint them all black, and "Borg" them out.


After all is said and done, I plan to post a step by step guide to my process.  
I plan to keep working long and hard this week to finish Eric's costume, the mechanical arms, and all of the fun details still to come.  I can't wait to show you guys the final product!  


Are you guys feeling the Halloween spirit yet?  
Vader Pumpkin says "may the spooky force be with you!"


Wednesday, October 17, 2012

An End in Sight


So, the first thing you should probably know about me: I am AWESOME at starting projects.  I get so psyched up to start a new craft project or learn a new skill!  I throw myself headfirst into things, and I love learning new techniques, and making new items. 

I am not always equally as awesome at finishing all of those projects.  I’ll just let that be known right off the start – I can’t promise to always finish what I start here.  But I work best with a deadline and accountability, so maybe you, the Internet, can hold me accountable to myself.   But probably not. 

I recognize my weakness though.  Walking through my house is a daily tour of unfinished projects: the box of incomplete homemade Christmas ornaments in my closet, the pinned-but-not-yet-sewn bottom half of a skirt hanging in the laundry room, the giant bag of polymer clays from my sudden inspiration to make my own gauged earrings.  (In my defense, I did make one totally awesome pair of earrings.  I’ll just wear those until they break, and then make some new ones!)

Maybe your houses are the same – standing monuments to sudden inspiration, temporary passions!  But I’d much rather my house be littered with dozens of finished projects.  So I’m trying to be better about finishing what I start. 

Case in point: The Knot Rug.   (Also referred to as a latch rug or rag rug)
Oh, the knot rug!  This bitch is my Everest.  I WILL conquer and finish it, and then I will cheerfully stomp on it every single day for the rest of my life.
I saw the idea on Pinterest.  (You’re on Pinterest, right?  Get on fricking Pinterest right now.  Pinterest makes us all capable of being Martha Stewart.  It’s amazeballs.) 

I read a tutorial, and though to myself, damn, that looks EASY!  Let’s make one of those! 
See, it’s a rug made out of old t-shirts.  You can use any fabric you want technically, but I had JUST cleaned out my closet, and had a bag of gnarly old shirts I would never wear again.  So when I stumbled on this wicked easy and almost free awesomesauce project, it felt meant to be. 

To be fair, this is a really easy project to do.  You just tie or loop little strips of fabric.  That's it!   If you have old shirts and know how to tie a knot, you can do this!  It just takes FOREVER to finish.  I don’t mean all day, or a weekend.  I mean I’ve been working on this thing for weeks and it will never, ever be done.  Ever.   But I am determined to try and finish it.  Eventually.  There are always things to get in my way and distract me: new recipes to bake, new books to read, new costumes to sew… but I will continue to keep coming back to the knot rug, and someday I will finish it! 

I’ll keep you posted on my progress of my rug, but in-between I'll be posting updates on all of the new projects and exciting things I do instead!! 

The start of my knot rug - each strip of fabric is tied INDIVIDUALLY!  

Getting into my stride - beginning to realize just how long this will take.  

Current progress - about 1/3 done

So FLUFFY! 

The bottom of the rug 

Detail of the bottom, showing each individual freaking loop 


Here is the link to a fantastic tutorial on how to make your own knot rug, in case you feel like being defeated by a pile of fabric for a long while! 
http://xoelle.com/2009/05/t-shirt-latch-hook-rug-tutorial/