So, it's Spring! Flowers are blooming, allergies are going bananas, the garden is being planted, and we all have overwhelming desires to redecorate our entire houses. Due to constraints like "money" and "spare time" we usually have to make due with just cleaning out our closets. Sometime around Christmas my wrapping materials got mixed into my craft closet and it just never recovered from the holiday chaos. Ooof. I'll get to it one of these days.
Anyway, in this burst of energy and newness, I decided that I wanted to make new curtains for the house. Despite all of my sewing skillz, I never got around to doing that when we moved in. It's time.
I told Eric about my idea, and asked if he had any opinions about curtains. He said "Space." ( His 2nd and 3rd options were "cowboys" and "dinosaurs." That's totally why I love this man.)
Space being decided, I began the hunt for fabric. And by hunt, I mean an epic journey of despair and disappointment. If you can call 3 days an epic journey - that's how long it took me to give up. Space fabric comes in 2 forms: 1) cartoony and a little pricey, and 2) only okay and still expensive.
So, what do we do when we can't find what we want? We make it ourselves!
I saw a thing on Pinterest about doing diy galaxy printed clothing, so I did some research on the different methods, and began! Here is my process - I used an old black sheet but this can be done with any material or clothing.
materials:
Black fabric
Bleach in a spray bottle
acrylic paint in assorted colors
sponges
an old toothbrush
To start, take your old black sheet outside, and use a spray bottle of bleach over parts of fabric - being lighter in some areas and more intense in others. Dilute your bleach just a tad. Let it sit for about 10 minutes or so, or until you get the desired effect. Then wash it to stop the bleaching process. Dry. Now your canvas is ready!
Note: if I were to do this again, I would probably make the bigger spray areas further away from each other to cut back on painting time and create more black space, but do whatever you want!
 |
| Bleached! |
Start with your white, and use it to highlight your lighter bleached areas.
 |
Yellow highlights around the edges of the white.

Then some pink.

Next I did 2 shades of purple.

Then some light sea foamy green.

Some light, bright blue.
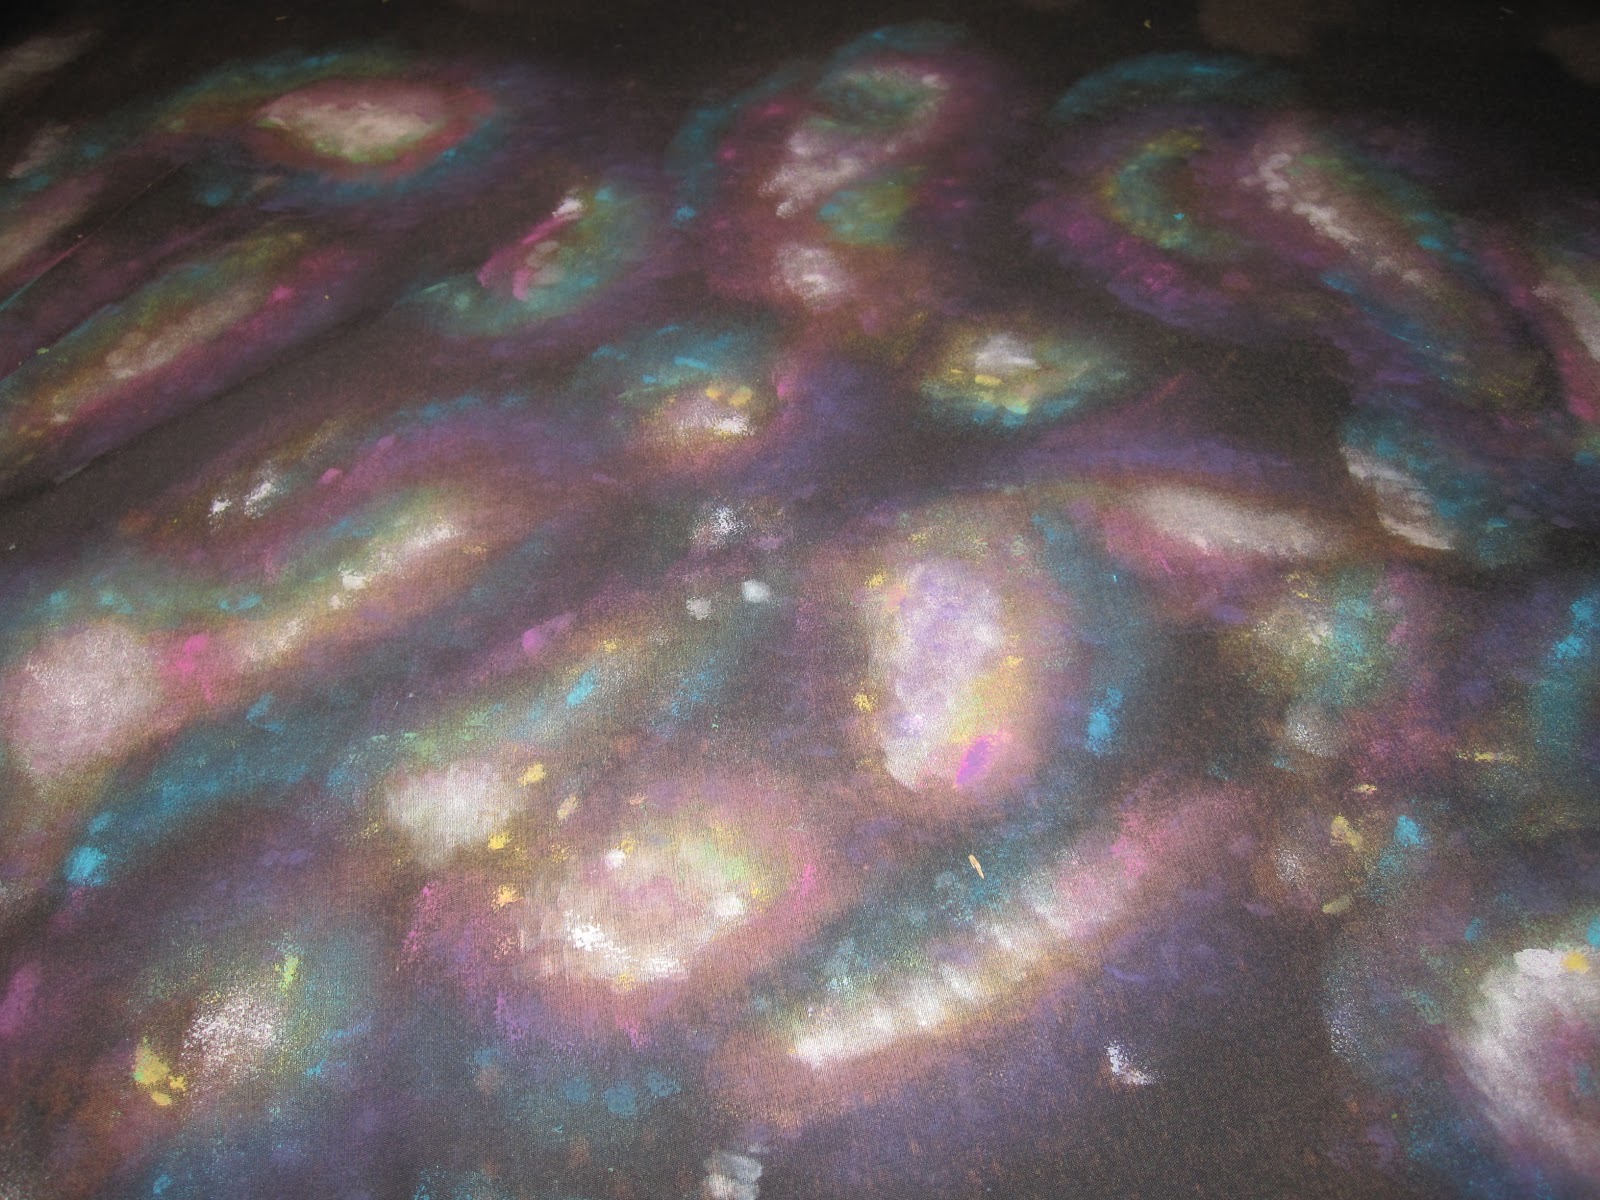
Darker, glitter blue! Cause ya always need glitter!
Then I went over some area with black paint to soften the edges, and darken a few spots up.

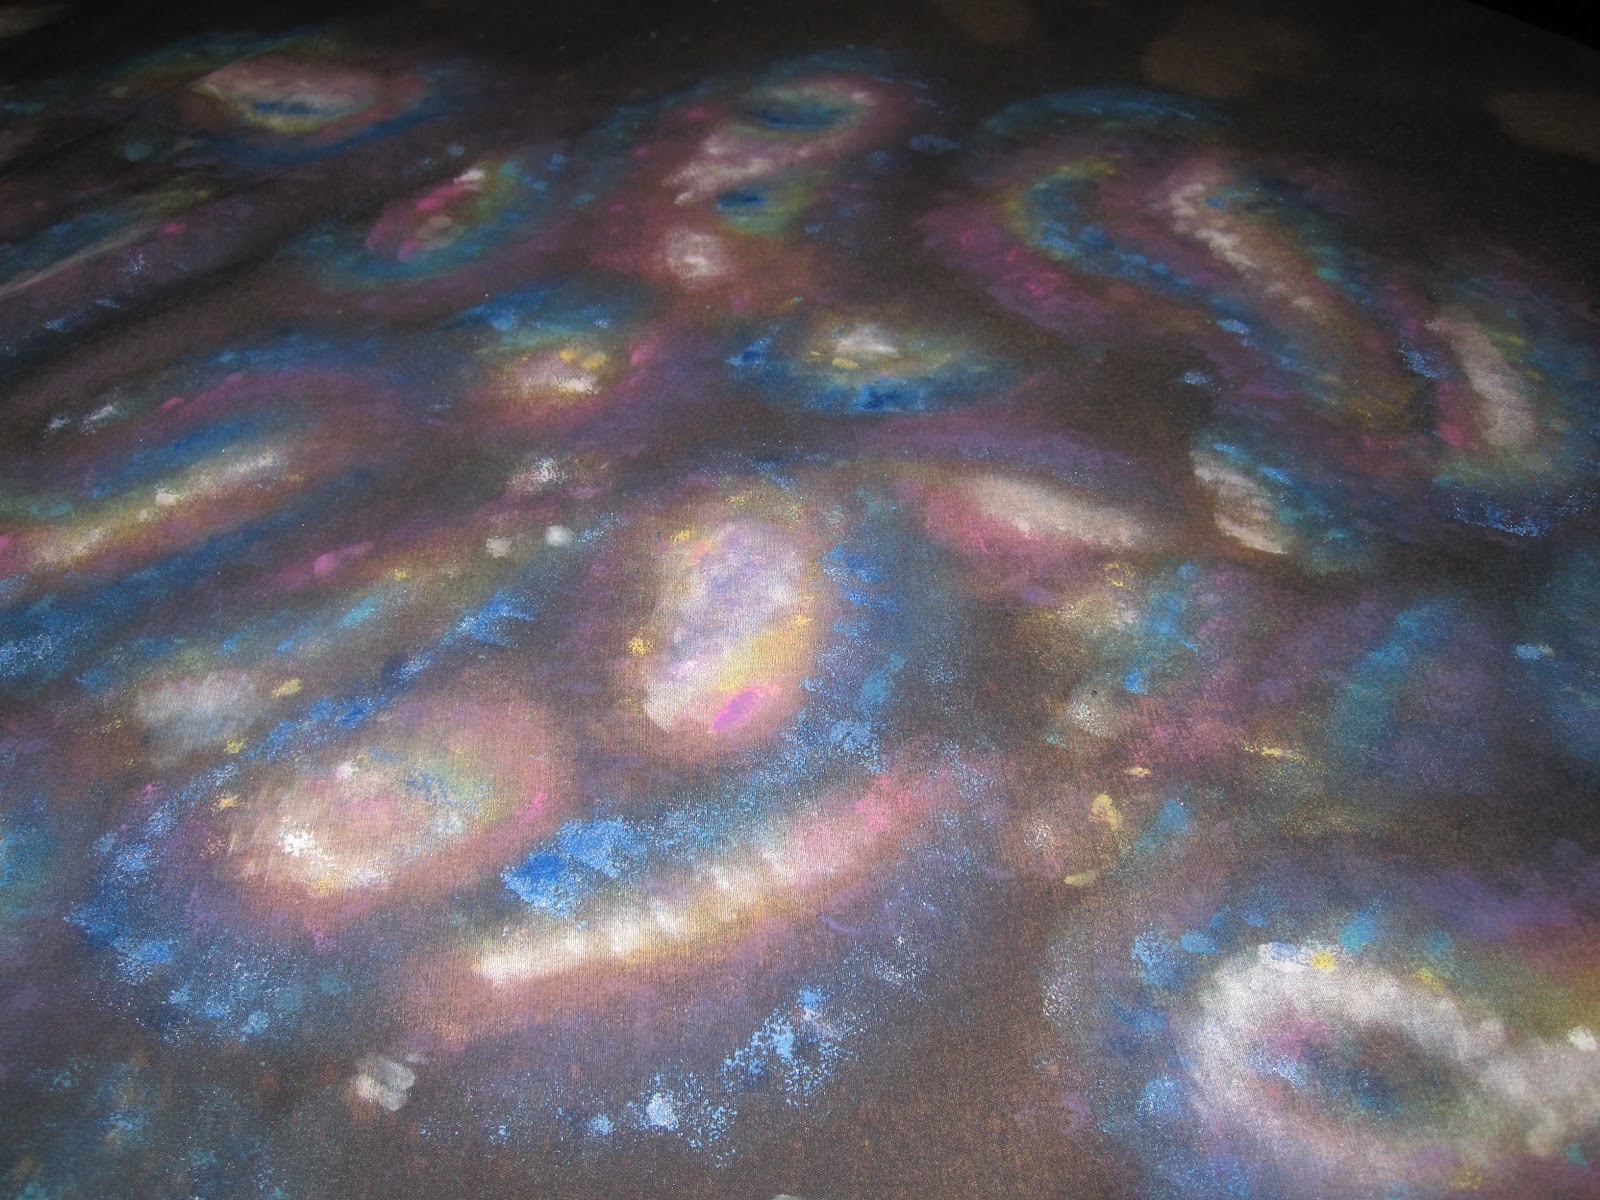
When you have your paint finished, take an old toothbrush, put some white paint on the bristles, and flick it with your thumb so that little white paint speck "stars" fling on to your fabric.

And viola! you are done.

Though, obviously, I am not done. This corner of my sheet took about 4 hours to paint, so I didn't finish the whole sheet. But I am very happy with the results so far. Hopefully a weekend of painting will result in some new curtains next week! I'll post the final product when it's done!